FlutterGo turns a plain-language idea into a real Flutter app: it plans the screens, writes the Dart, runs it in a live preview and fixes what breaks. This walkthrough builds a small weather app end to end so you can see every piece working together.
Step 1 — Describe the app
Open a new project and describe what you want in a sentence or two. Be specific about the screens and the data. Here is the prompt used for this post:
A weather app with a 5-day forecast list, a city search, and a settings page for units and notifications.
The agent answers with a plan first — screens, navigation, and the assets it will need — so you can adjust before any code is written.
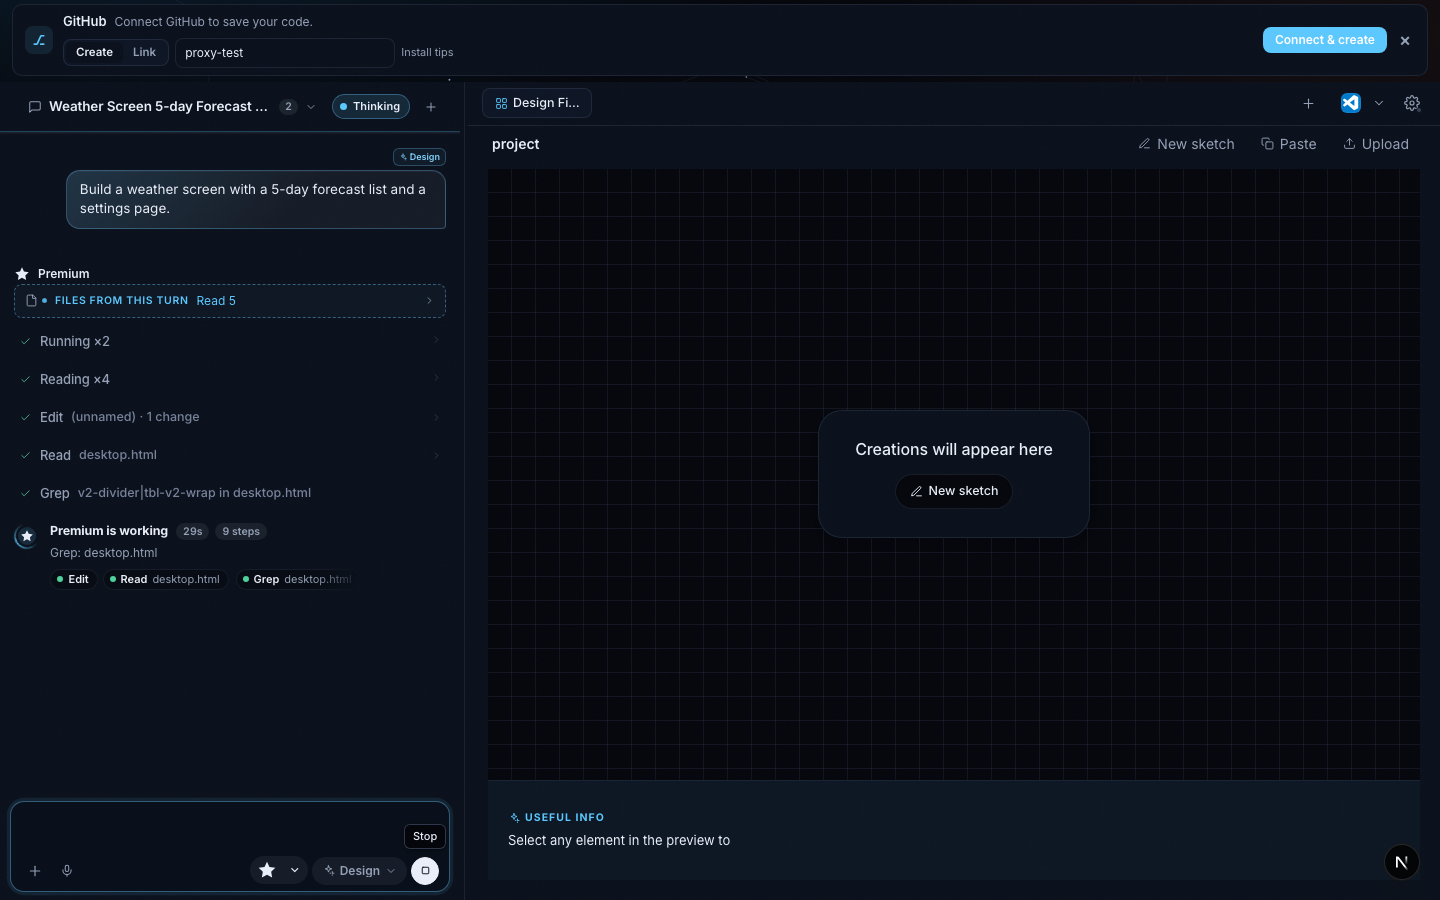
Step 2 — Watch it build
Every step the agent takes — reading files, editing screens, running the analyzer — shows up live in the thread, so there is never a black box. When it finishes, the live preview on the right boots the app on a simulated device.
Step 3 — Fix, polish, repeat
Tip: when the analyzer reports errors, paste them into the chat. The agent fixes the exact files involved and re-runs the check.
A few things that make iteration fast:
- Threads keep each feature separate, so a fix never lands in the wrong place
- Every turn shows the files it touched, with one-click open in your editor
- Previews rebuild automatically after each change
Here is what a typical fix looks like in Dart:
final forecast = await api.fetchForecast(city);

setState(() => _days = forecast.take(5).toList());
Step 4 — Publish
When you are happy, hit Publish. FlutterGo builds the release binaries and walks you through TestFlight and Play Console. Here is the two-minute overview:
How the plans compare:
Plan | Projects | Previews |
|---|---|---|
Free | 1 | Web only |
Pro | Unlimited | iOS + Android + Web |
Ready to try it? Start a project on the pricing page and describe your app.