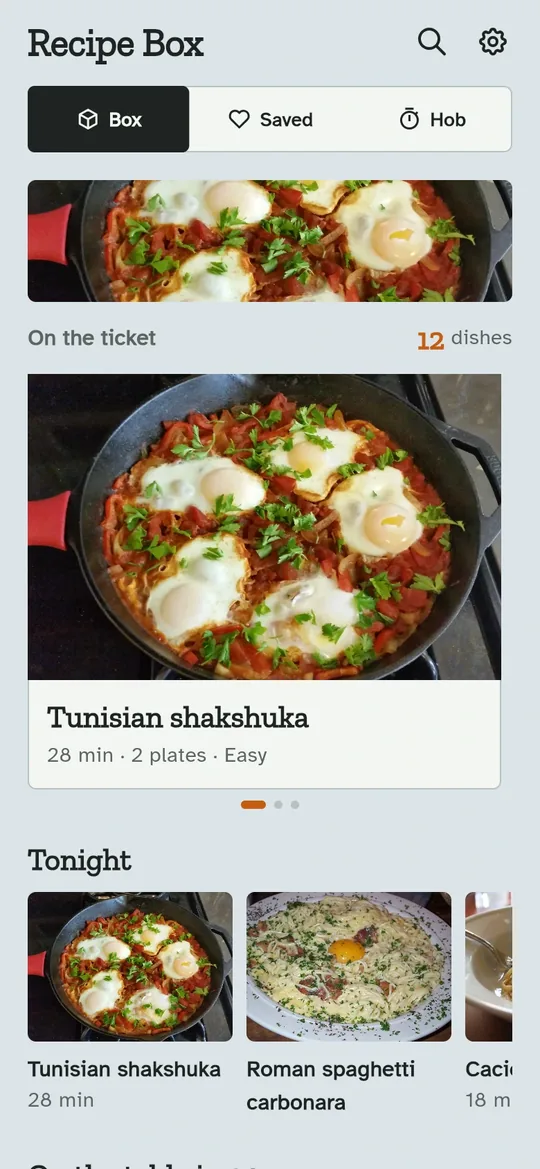
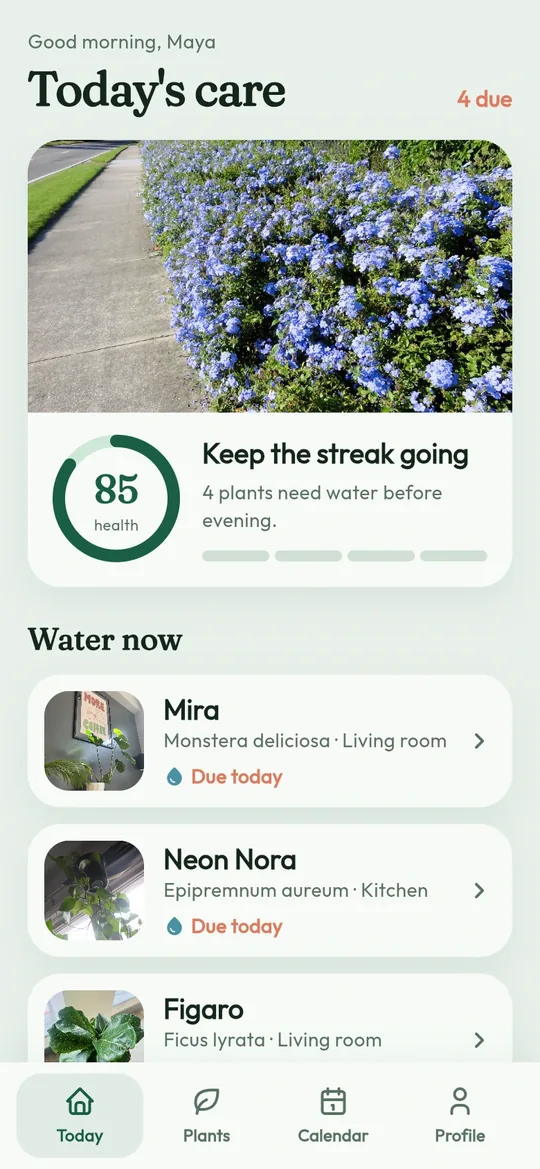
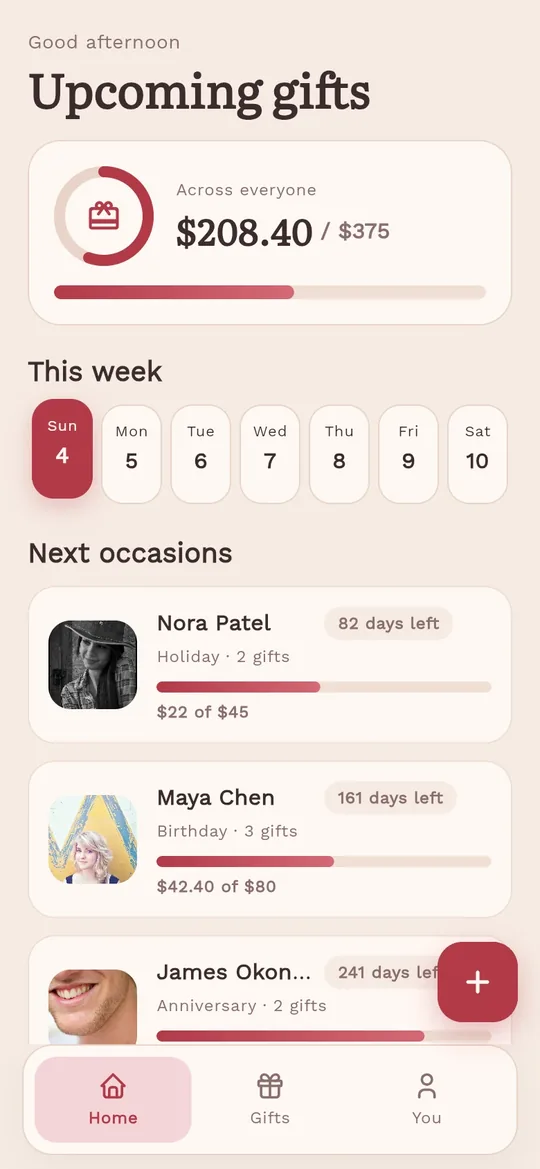
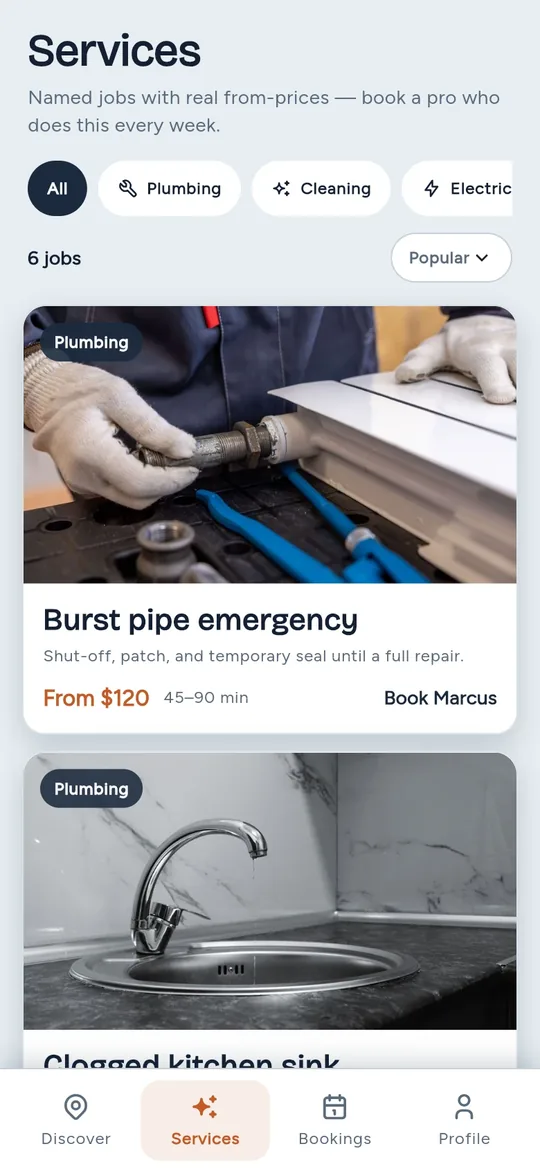
Generated UI Is the Start of a Working App
Generated screens show sample data until real services stand behind them. Data, sign-in, payments and business rules come next, and each one runs on an account you hold.
Data and sign-in. Supabase is the main backend. Connect it once from Settings, approve access when its window opens, and each app can link an existing Supabase project or create a new one. Ask for the tables your screens need: the agent wires auth, Postgres tables, storage, realtime and an RLS-safe client behind the UI you already have. Firebase has its own setup form, and an existing REST API works too if you ask the agent to point the app at it. The backends chapter has the steps.
Payments. FlutterGo is not a payment processor. Ask for payments and a Stripe setup form shows up in the Setup list of the project console, asking for your publishable and secret keys. The publishable key is built into the app. The secret key lives only on the server, in .env.server, and GitHub never receives it. Money moves through your own Stripe account, so a success screen in the preview proves nothing until the test payment shows up there.
Business rules. Hiding a button when stock runs out is a display choice, not a rule. Prices, limits and who may read which rows belong on the server. Ask for row-level security and server-side checks in Supabase, then try to break them from a second account.
An admin panel in the app's theme. Pro and higher plans add a website and an admin panel that share the app's Supabase backend and wear its theme. You sign in there to add, edit and delete data and to manage users. The website and admin panel chapter covers it, and the ecommerce app builder page covers a full shop.